
Read&Write Installation for Google Chrome
Install & log in to the software via the following process:
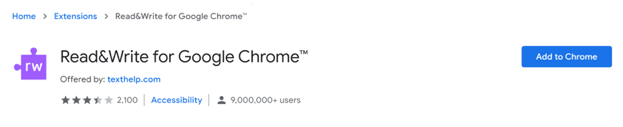
- Install the Read&Write extension for Google Chrome: https://chrome.google.com/webstore/detail/readwrite-for-google-chro/inoeonmfapjbbkmdafoankkfajkcphgd
- Click on the blue “Add to Chrome” button
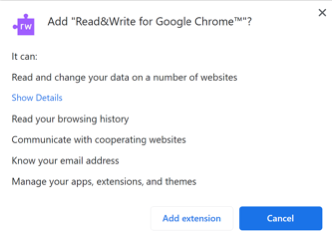
- A pop up box will appear, click “Add extension”
- Click on the purple puzzle piece icon in the upper right-hand corner to activate the extension (this may take a while the first time)

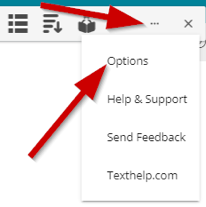
- When the Read&Write toolbar appears, click on the ellipsis & select “Options”
- Click on “Accounts”, then click “Sign in with Microsoft”
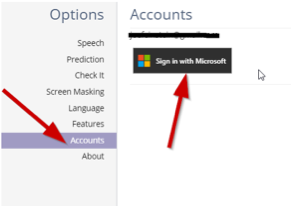
- Enter your Richland email address & NetID password to log in to your Read&Write account
- Click on the purple puzzle piece icon whenever you want to activate the Read&Write toolbar
Video Installation Instructions
Remember to Sign In with Microsoft Office
This YouTube playlist, Student Take-Home Install Guides, includes Installation Instructions for Google Chrome, Windows, Mac, iPad, and Office 365. Using Google Chrome is recommended although you are welcome to follow the install guides for the other platforms if you prefer.
Read&Write Features
New features will be covered in weekly emails. You are welcome to explore them on your own – the videos covering each feature are only a few minutes in length.
Read&Write for Google Chrome – Recommended
For more information or help, please email asc@richland.edu.